Trending

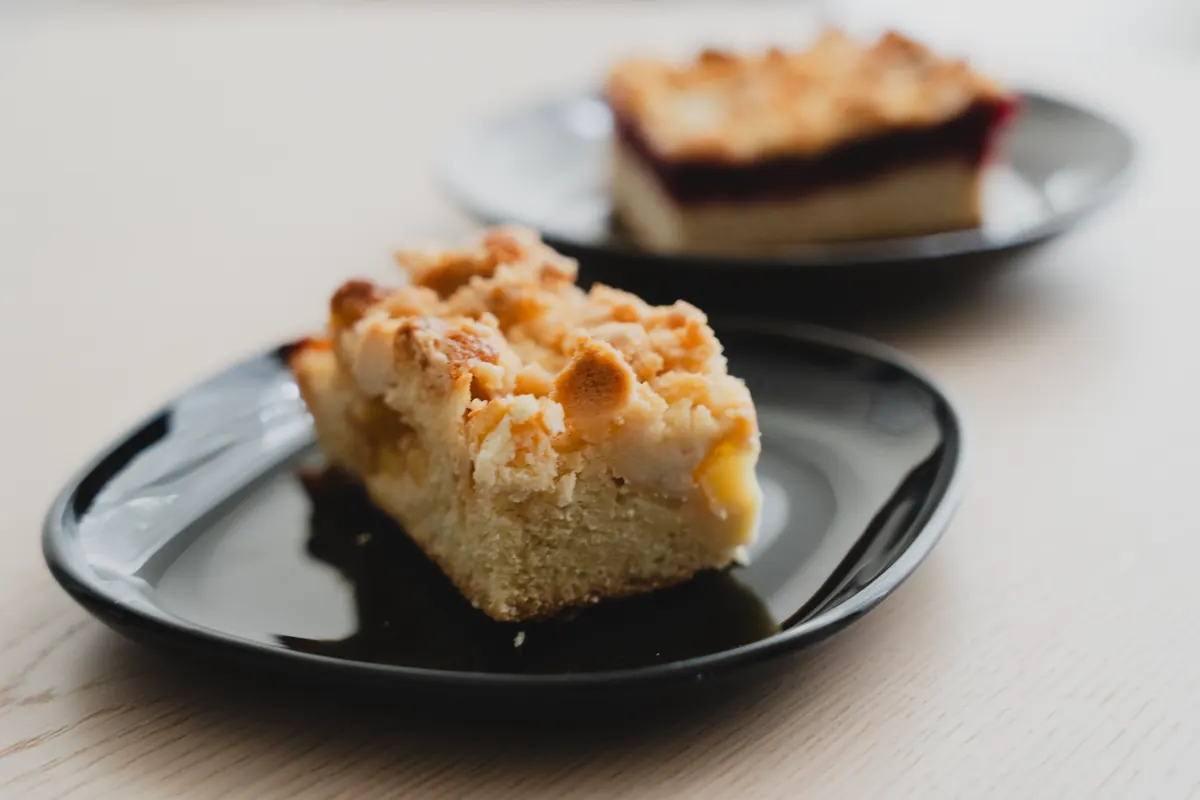
The first cold morning of October sends most of us to the fruit bowl, and apples rarely disappoint. They are cheap, sharp and plentiful, and a crumble is the least fussy way to turn a bag of them into dessert. It is also one of the easiest puddings to get wrong in two specific ways: a topping that steams into paste, or fruit that stays stubbornly crunchy under a pale, sandy lid. Neither is a mystery. Both come down to a few decisions made before the dish goes anywhere near the oven.
Flavour is only half the job. Apples also decide the texture of the filling, and they behave very differently once heat gets to them. Cooking apples collapse into a fluffy, tart purée. Firm eating apples — Granny Smith, Braeburn, Jazz, Honeycrisp, Pink Lady — hold their shape and keep a little bite. Golden Delicious sits somewhere in the middle, softening without dissolving and sweetening everything around it.
A mix gives you the best of both. I use roughly two-thirds firm, tart apples for structure and one-third softer or sweeter ones to melt into the gaps and thicken the juices. For a standard 23 x 33 cm dish, that is about 1.2 kg of prepared fruit. Peel it or don't — the skins add a pleasant chew and a little colour, but they will not soften the way the flesh does, so keep the pieces modest if you leave them on.
Cut everything into wedges about 1.5 cm thick at the widest point. Thick slices keep their shape; paper-thin ones turn to sauce before the topping has taken on any colour. Consistency matters more than the exact size, so aim for pieces that will all cook at the same speed.
Sugar is what pulls water out of apples, and that water is what turns a crisp topping soggy from below. You can work with this rather than against it. Toss the sliced apples with the sugar and spices, leave them in a bowl for twenty to thirty minutes, then drain off the liquid that collects. Reduce that liquid in a small pan with a knob of butter until it is syrupy, and pour it back over the fruit. You lose nothing in flavour and gain a filling that sets instead of swimming.
If that extra pan feels like too much on a weeknight, thicken instead. One to two tablespoons of cornstarch or a tablespoon of tapioca starch per kilo of fruit will do the job. Toss the starch with the dry sugar first so it distributes evenly, then mix it through the apples.
For seasoning, keep it simple and taste as you go. A squeeze of lemon sharpens sweet apples, a pinch of salt keeps the whole thing from tasting flat, and cinnamon, nutmeg or a scraped vanilla pod all earn their place. Go easy on the sugar if your apples are already sweet — two to four tablespoons per kilo is usually plenty, and you can always serve it with something sweet on top.
Firm apples that refuse to soften need a head start. Cook them in a wide pan over medium heat with the sugar and a spoonful of butter for five to eight minutes, just until the edges begin to give, then spread them in the dish and let them cool for ten minutes before the topping goes on. A hot filling starts cooking the underside of the crumble immediately, which is how you end up with a doughy layer.
For a dish serving six, start with 180 g plain flour, 60 g rolled oats, 120 g cold butter and 90 g soft brown sugar, plus a good pinch of salt. The oats are optional but they add real crunch; if you leave them out, add another 40 g of flour.
Cold butter is the whole trick. Melted butter coats each grain of flour and bakes into a flat, sandy sheet. Cold butter creates pockets that release steam as they melt, and those pockets set into crisp, buttery shards. Work quickly, and if your kitchen is warm, put the bowl in the fridge for ten minutes before it goes on the fruit.
Choose your dish before you choose your oven temperature. A filling four to five centimetres deep under a topping of roughly two centimetres is the sweet spot. Too wide and shallow, and the fruit dries out while the topping over-browns. Too deep and narrow, and the top is dark before the middle is tender. A 23 x 33 cm gratin dish or a deep 20 cm round tin both work well.
Spread the fruit level, then scatter the topping loosely over the surface. Do not press it down. Set the dish on a baking sheet to catch the inevitable bubbling juices, and slide it onto the middle rack.
A hot start sets the topping before the fruit releases most of its steam. Try 190°C (375°F) for the first twenty minutes, then drop to 170°C (340°F) for another twenty to thirty. If you would rather not fuss, a steady 180°C (350°F) for forty to fifty minutes works too. Deeper dishes and juicier apples need the longer end of the range.
You are looking for a deep golden top and thick juices bubbling up around the edges. If the crumble colours faster than the fruit cooks, lay a sheet of foil loosely over the top and punch a few holes in it. Sealing it tight traps steam and undoes the work you did to keep things crisp.
To check the fruit, push a thin knife through a gap in the topping near the centre. It should slide in with a little resistance and meet no hard cores. If it stops dead, give it another ten minutes and check again.
Assemble the filling in the dish and keep the topping in a covered bowl in the fridge for up to a day; combine them just before baking. The whole unbaked dish also freezes well, tightly wrapped, for a month or two. Bake it from frozen at 180°C, adding fifteen to twenty minutes to the time.
Reheating is where leftovers usually fail. Warm individual portions at 160°C for ten to fifteen minutes, then give the top two or three minutes under a hot broiler, watching it constantly, to bring the crunch back. A microwave will heat the middle beautifully and ruin the surface entirely, so use it only if you genuinely do not mind.
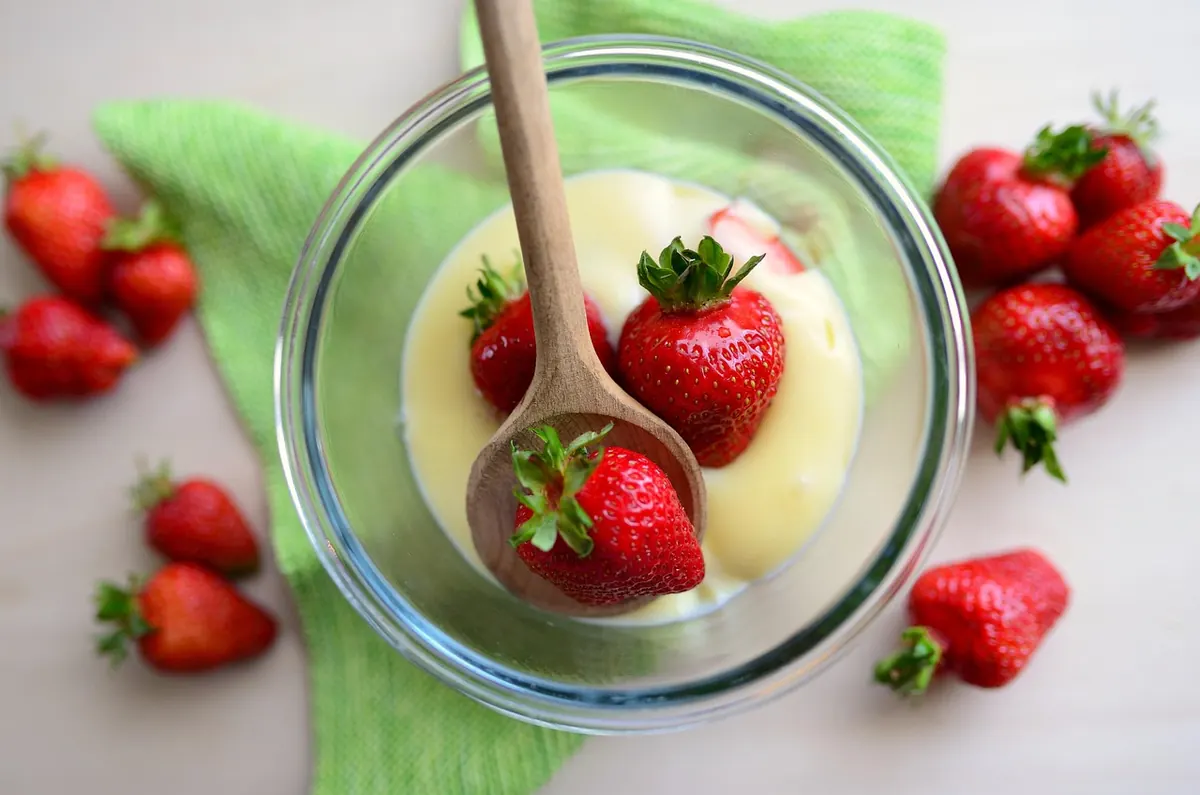
Let the crumble sit for fifteen minutes before you serve it. The filling thickens as it cools, and you will get neat spoonfuls instead of a flood. Cold cream, warm custard, vanilla ice cream or a spoon of crème fraîche are all correct answers. Covered in the fridge, it keeps for three days, and a cold slice with thick yogurt the next morning is one of the better arguments for making a larger one than you need.
Crumble adapts easily — gluten-free flour blends and plant-based butter both work, though the texture will differ — but if you are cooking for someone with a serious allergy, read every label and use equipment you know is clean.
Photo: Anh Nguyen / Pexels