Trending

Chocolate pudding from a box sets reliably, but it has a tell: a faint pasty coating on the tongue and a gloss that never feels quite rich. Take the cornstarch out and you get something closer to a pot de crème — dense, satiny, cool, and tasting of actual chocolate. The trade is attention. Egg yolks thicken on their own schedule, and they do not forgive a boiling pot. Twenty minutes of steady whisking gets you there.
Cornstarch thickens by swelling into a gel. It is dependable, but it dulls flavor and leaves that starchy edge. Egg yolks work differently: their proteins unfold and link together somewhere between 160°F and 180°F, building a fine mesh that thickens the milk and firms up as it cools. Yolks also bring fat and lecithin, which hold cocoa butter and cocoa particles in suspension so the pudding tastes smooth instead of chalky.
That mesh is delicate. Push it past a simmer and the proteins tighten and squeeze out water, which is how you end up with grainy pudding or specks of scrambled egg. Gentle heat and constant movement are the whole technique.
This makes about three cups, enough for four generous servings or six small ones.
You will also want a heavy-bottomed saucepan, a balloon whisk, a heatproof bowl, a fine-mesh strainer, and an instant-read thermometer. The thermometer is not decoration — it is the difference between silky and speckled. Dutch-process cocoa is darker, milder, and dissolves more readily, which suits this method. Natural cocoa works too, but it is sharper, so taste before you chill.
Whisk the cocoa, sugar, and salt together in the cold saucepan. Doing this dry breaks up lumps before liquid can trap them. Add two tablespoons of the milk and stir into a smooth, thick paste — this is the bloom, and it wakes up the cocoa's flavor. Then whisk in the rest of the milk in a slow stream.
Set the pan over medium heat and cook, whisking steadily, until the mixture is steaming and the first lazy bubbles break the surface. Pull it off the heat before it comes to a rolling boil.
Put the yolks in a heatproof bowl and whisk just until smooth. Now ladle the hot milk into the yolks a few spoonfuls at a time, whisking constantly. Add the first half cup slowly — this raises the temperature of the eggs gradually instead of cooking them on contact. Once the bowl feels warm to the touch, pour the yolk mixture back into the saucepan, scraping the bowl clean with a spatula.
Return the pan to medium-low heat. Whisk without stopping, and switch to a spatula every so often to scrape the bottom and corners, where the mixture catches first. The pudding will thicken over five to eight minutes.
If you see a bubble or two, that is fine. A full boil is not. When in doubt, take it off the heat — the pudding keeps thickening as it cools.
Pull the pan off the burner and add the chopped chocolate, if using. Stir until it disappears completely, then stir in the butter and vanilla. Both go in at the end, where their flavor survives.
Now pour the pudding through a fine-mesh strainer into a clean bowl or a large measuring cup with a spout. Press it through with a spatula rather than letting it sit and drip. Straining catches stray cooked egg, stubborn cocoa bits, and any skin that formed on the surface. It takes thirty seconds and it is the easiest upgrade to the texture you will make all week.
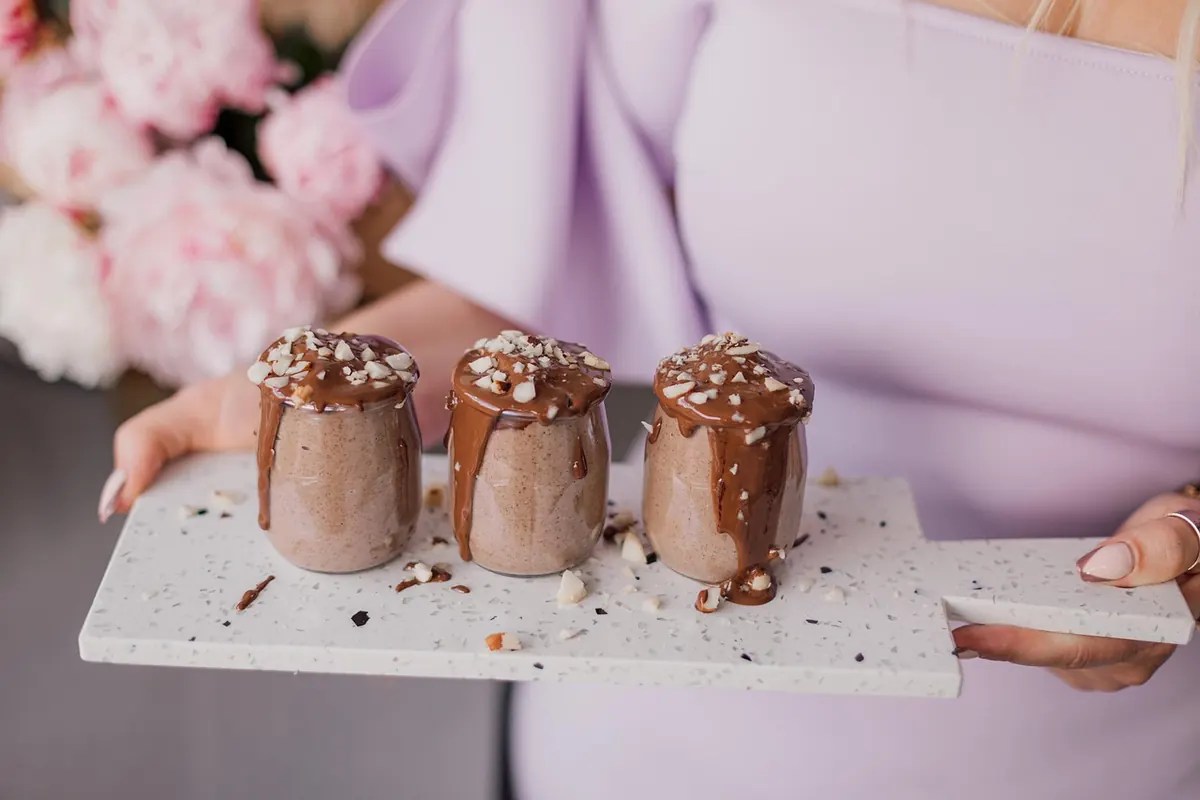
Divide the pudding among ramekins or small jars. Press a piece of plastic wrap directly onto the surface of each one — not over the rim of the dish, but touching the pudding. This is what prevents a rubbery skin from forming. Let them sit at room temperature for twenty minutes, then refrigerate for at least three hours, ideally four. The set firms up considerably overnight.
Serve cold for a classic pudding, or warm gently in a bowl of hot water for ten minutes if you want something closer to a thick chocolate sauce. Whipped cream, flaky salt, a few raspberries, or a spoonful of espresso powder all earn their place here.
This pudding keeps, covered, for three to four days in the refrigerator. Because the eggs are cooked to 170°F and above, it is a stable dessert, but treat it like any custard: refrigerate it within two hours of cooking, keep it cold, and don't leave it sitting out all afternoon. If you are cooking for someone who must avoid lightly cooked eggs or dairy, this recipe is not the one to adapt on instinct — ask a doctor or dietitian about suitable substitutions.
Make a double batch if you have the pots for it. It is the rare dessert that improves on the second day, once the cocoa has settled into the cream, and a spoonful straight from the jar at ten at night is arguably the point of the whole exercise.
Photo: lubovlisitsa / Pixabay