Trending

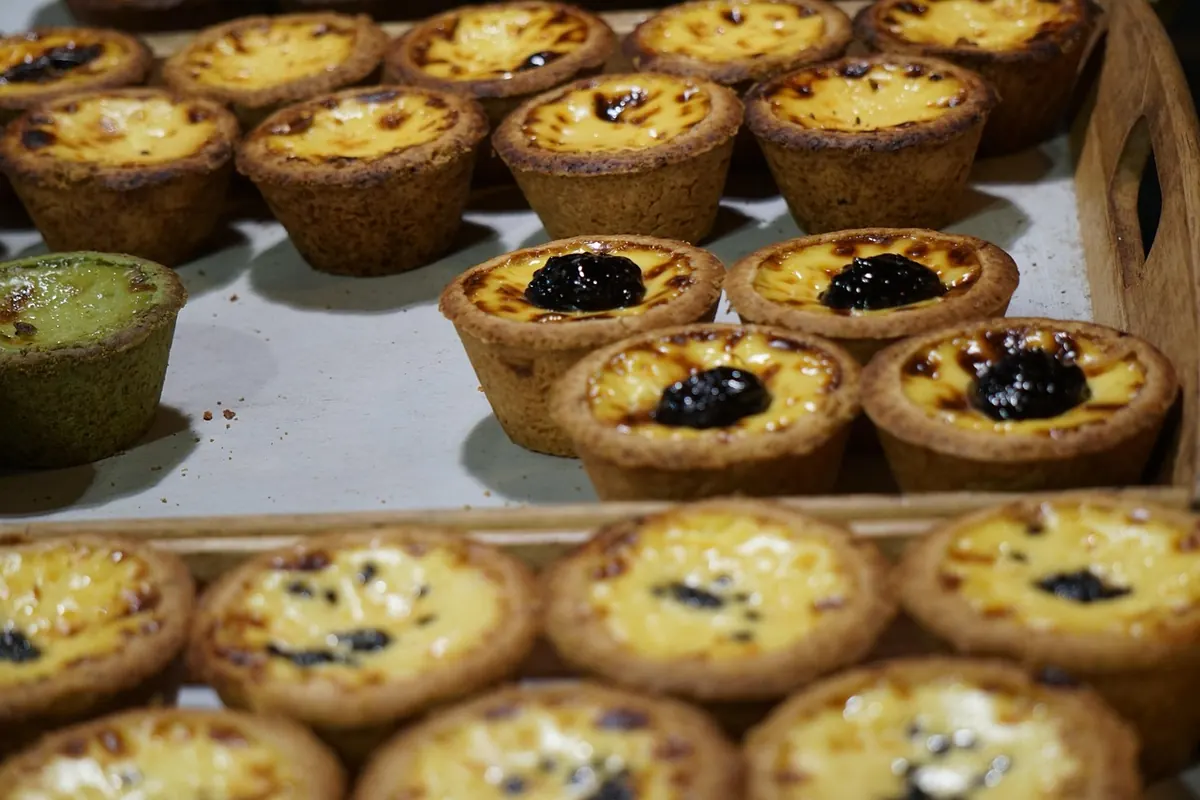
A custard tart is three simple things: pastry, eggs and milk. That is the trap. Because there is nowhere to hide, and a soggy base, a curdled filling or a ragged first slice all show up in the same bite. The good news is that each of those problems comes from one or two specific habits, and every one of them is fixable once you know what to look for. What follows is the three-stage approach that decides whether your tart is merely acceptable or genuinely good: blind baking the shell, setting the custard, and cutting slices that hold their shape.
A plain shortcrust is all you need: flour, cold butter, a pinch of salt, a little sugar if you like a sweeter shell, and just enough ice-cold water to bring it together. The proportions matter less than the temperature. Warm butter smears into the flour instead of staying in flakes, and flakes are what give you flakiness. If your kitchen is hot, chill the flour bowl for ten minutes before you start.
Rub the butter in until you have a mix of fine crumbs and a few pea-sized pieces, then add water a tablespoon at a time. Stop the moment the dough holds together when squeezed. Overworking develops gluten, and gluten makes pastry tough and prone to shrinking.
Flatten the dough into a disc, wrap it, and rest it in the fridge for at least 30 minutes. Then roll it a little larger than your tin, lift it in without stretching, and press it gently into the corners and flutes. Stretched pastry springs back in the oven and pulls away from the sides. Prick the base lightly with a fork and chill the lined shell for another 20 minutes before it goes anywhere near heat. That final chill is the single best defence against shrinkage.
Blind baking means baking the empty shell first so the base is dry and crisp before a wet custard ever touches it. Skip it, or cut it short, and you get the pale, flabby bottom that ruins otherwise good tarts.
Patch any small cracks with a scrap of raw pastry before the final bake. Custard finds gaps.
A classic custard tart filling is whole eggs, sometimes an extra yolk, sugar, milk or a milk-and-cream mix, vanilla, and a grating of nutmeg on top. Warm the milk gently with the sugar until the sugar dissolves, then pour it slowly into the beaten eggs while whisking constantly. Doing it slowly is what stops the eggs from scrambling before they reach the oven.
Whisk just until the mixture is uniform. A furious whisk whips in air, and air becomes bubbles and cracks on the surface. Then strain the custard through a fine sieve into a jug. This catches stray bits of egg and any undissolved sugar, and it is the reason professional tarts look so smooth.
Pour the custard into the cooled shell while it is still warm, filling it to just below the rim. Warm filling and a warm shell bake more evenly than cold on cold. If you want to add flavour, keep it subtle: vanilla, a little orange zest steeped in the milk, a splash of brandy.
Turn the oven down to about 150°C (300°F). A custard is set by gentle heat; a hot oven puffs the top and leaves the texture grainy.
Bake until the edges are firm and the centre still has a slight wobble when you nudge the tin, roughly 30 to 40 minutes for a large tart, less for small ones. A thin knife inserted about 2 cm from the edge should come out clean. If you use a thermometer, aim for around 80°C (175°F) in the middle. Pull it out a touch earlier rather than later: it will carry on setting as it cools.
Cool the tart completely on a rack at room temperature, then refrigerate it for an hour or two. Chilling firms the custard so it slices instead of smears.
The first cut is always the messiest. Accept that and treat it as the cook's slice.
A soggy base means the blind bake was too short or the custard went into a cold shell. Cracks mean the oven was too hot or the custard was overbaked. A weeping surface usually points to overcooking as well. Shrunken sides mean the pastry was stretched or not rested. None of these are disasters — they are information. Adjust one variable next time rather than three, and you will find your version quickly.
Custard tarts reward repetition more than most bakes because the variables are few and visible. Bake the shell a shade darker than feels comfortable, keep the custard gentle, chill before slicing, and you will get a crisp base, a silky centre and clean edges. Do it twice and the recipe stops being a set of instructions and becomes something you can feel in your hands. Start with a single 23 cm tart or a tray of small ones, and take notes on your oven temperature and timings. That notebook will be worth more than any recipe you follow.
Photo: littofur / Pixabay